Let’s explore another exciting project: the building of an external Play House, one that does require a bit more input and funding, but the end result is absolutely fantastic, and the results can last for years, and can even be passed onto later additions to the family as they grow. The house once constructed can then be themed throughout the year with decorations and lights to celebrate Easter, Halloween and Christmas, but can be prepared for any event that you and your family may have on the calendar.
You don’t have to be a carpenter, just some basic DIY ability, as there are ways to make the construction simple but effective. We started Emily’s play house by using a pre-constructed play house that we bought, which took only a couple of days to build. There was some preparation to create a level base on which to site the house, and we ended up laying some paving slabs, but this is not necessary as any firm level surface will do the trick from grass to sand, all you need is a spirit level, shovel and a long straight piece of timber with which to grade the soil or sand if your lawn isn’t level enough.
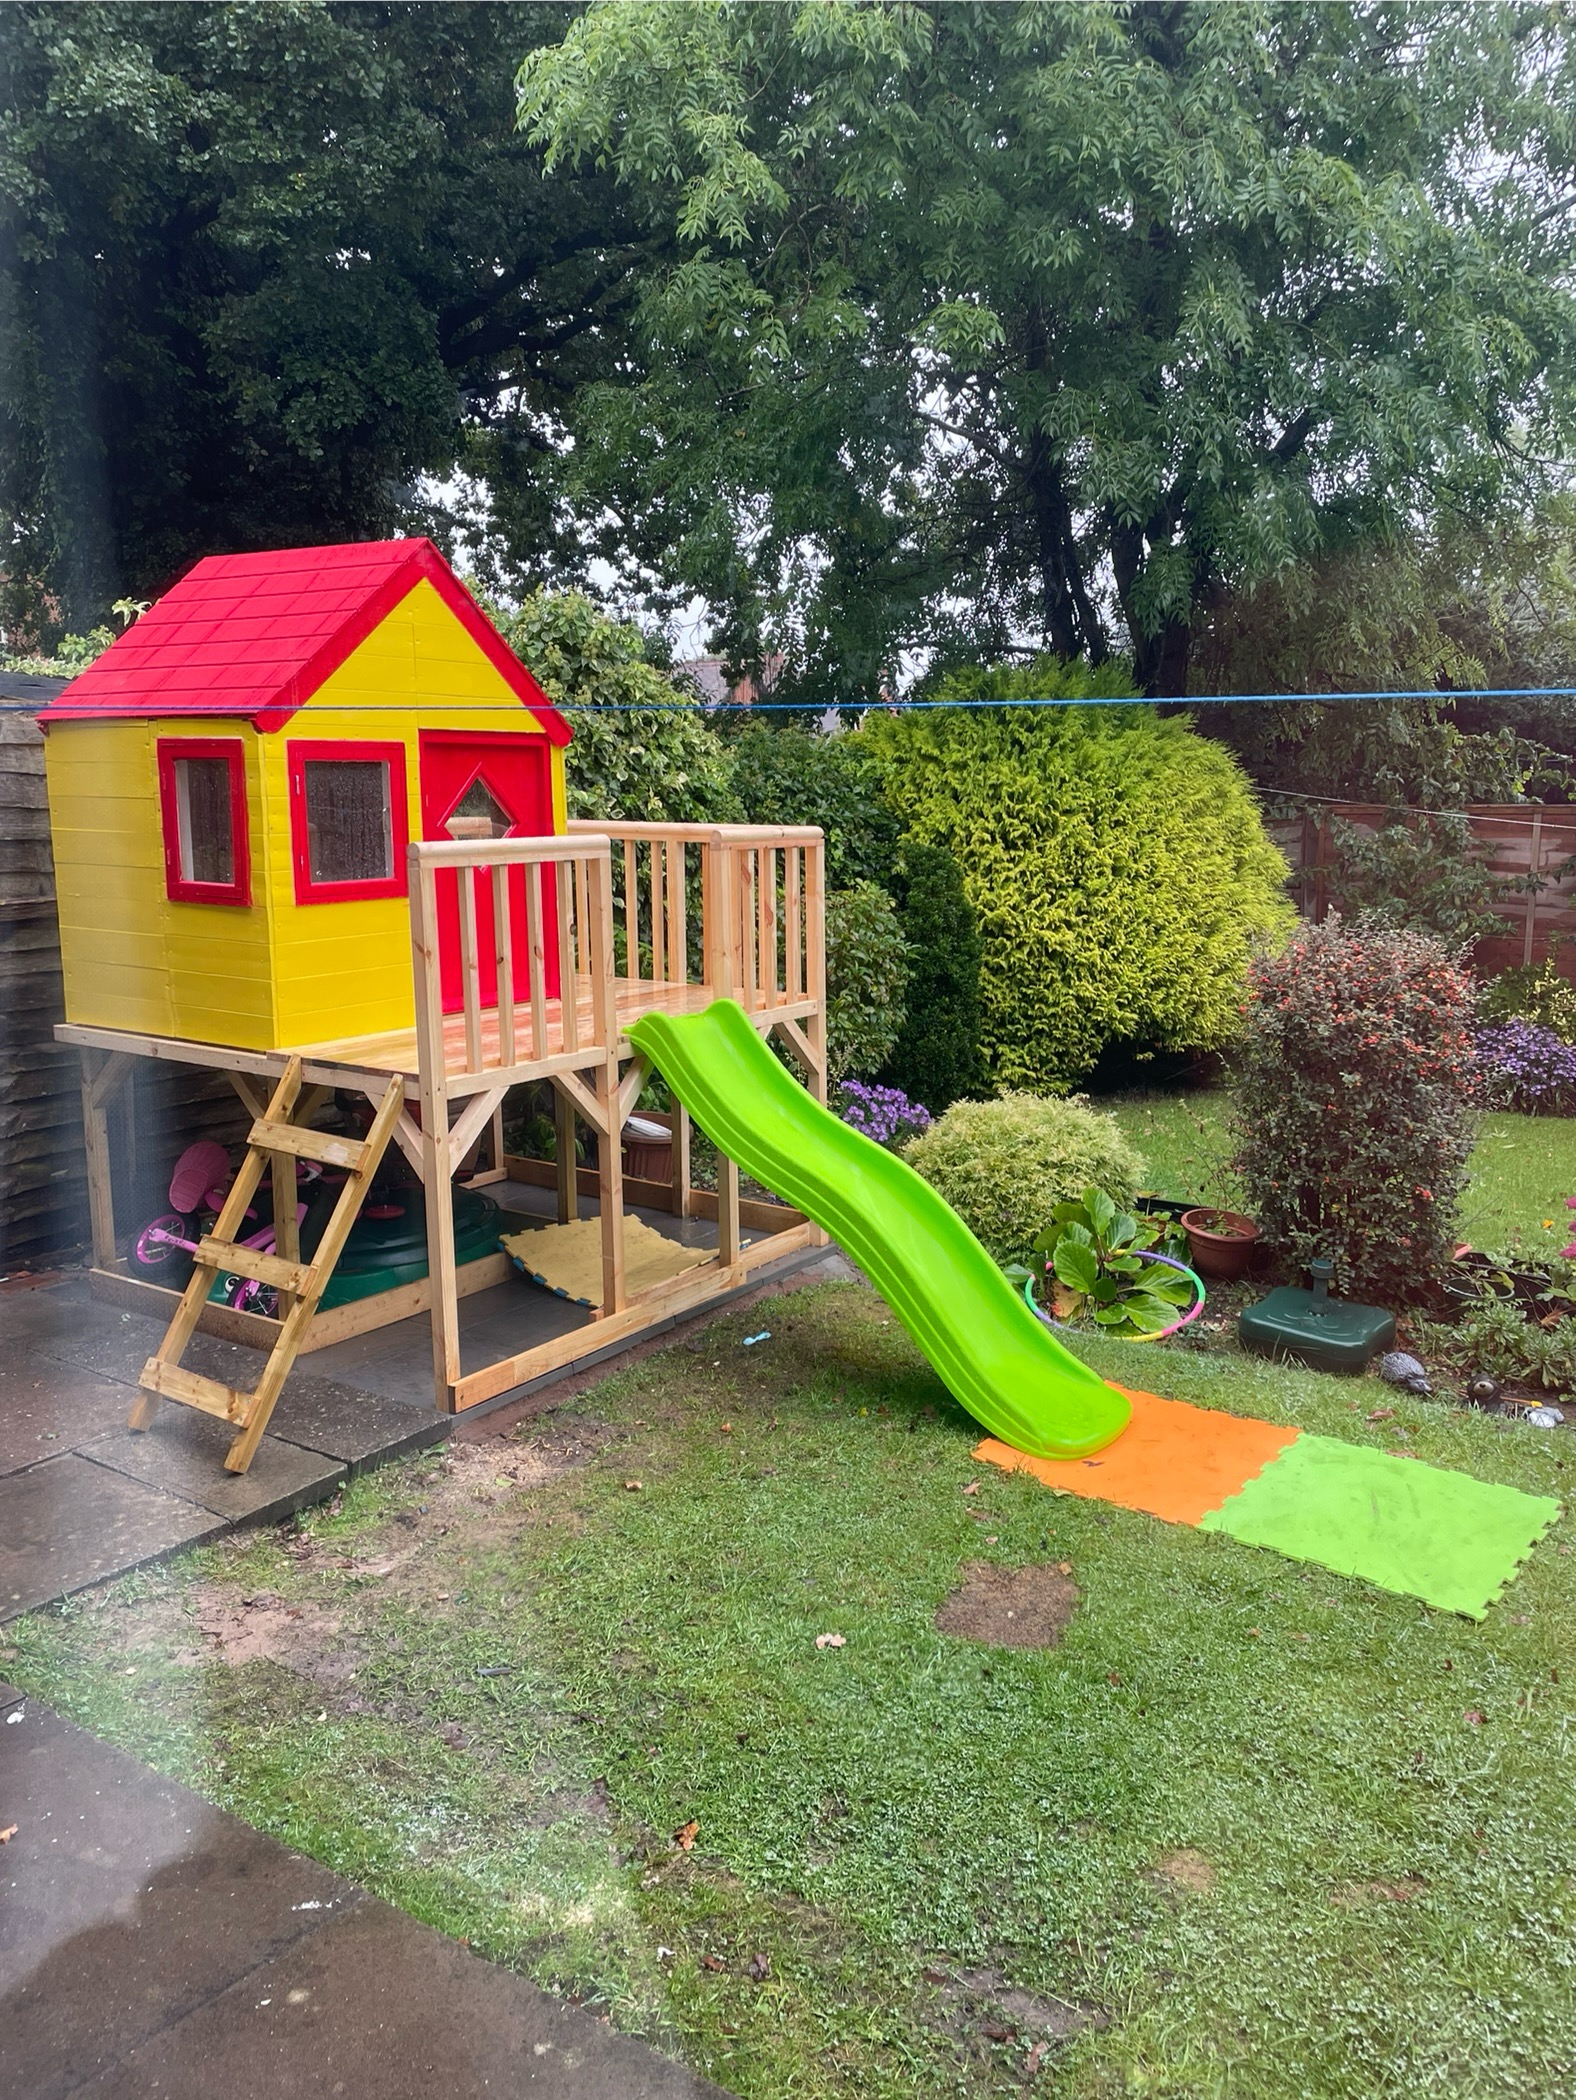
The pre-bought house was fairly basic and so was not an all year-round construction, as it came with a slide and open side for the steps, we therefore decided to improve the basic outline and create an all year-round weatherproof play house to include a veranda, front door and opening windows. You can of course just stick with the basic house if your budget is tight, as you will need to purchase additional timber which can be expensive.


Moving onto the additional construction, you will need to purchase either treated timber which is more expensive, or alternately just non-treated timber which you can weatherproof and varnish once the job is completed. In addition, you will need a large assorted box of wood screws, silicon sealant, 2 cross-head screw drivers (large and medium), measuring tape, marker pencil, cordless drill and assorted drill bits, rip saw (and if able perhaps a cordless jig saw)
Finally, the paint colour of your choice which can either be oil or water based.


If you need advice for your own construction, just drop us a line and we can help you where possible to achieve your desired result.
When choosing the timber and having decided whether or not to have treated or untreated timber, there are two other options you can have, which are either sawn timber which is rough to the feel or planned timber which is smooth to the touch, however the price for smooth timber which produces the best finish is slightly more in price, the choice of course is yours as to what you would like to achieve.
Based on our construction the timber you will need with approximate pricing:
Basic play house and slide £200/400 depending on size
44mm x 44mm £6.50 pm planed or if sawn £2.90 pm (framework)
20.5mm x 94mm £4.38 per m planed (planking and boarding)
20mm x 120mm £5.00 per m planed (optional larger boarding)
19mm x 38mm £2.85 per m sawn (internal battens)
Additional items from any DIY store
Window handles (simple design)
Magnetic catches
Perspex sheet (windows/door)
Wood primer
Coloured paint